

Reshta iOS App

 305
305
What Is Reshta?

Reshta is a secure iOS app for manually tracking your money.
I built it from scratch. Alone.
Who Is Reshta For?
Designed for people who want simple and private control over their finances.
Reshta makes manual tracking as quick and simple as possible, with all categories displayed on one screen and intuitive drag-and-drop transaction recording.
It is a deliberately simple, privacy-focused alternative to automated finance apps.
You're very welcome to try it!
How Reshta Makes Manual Money Tracking Simple
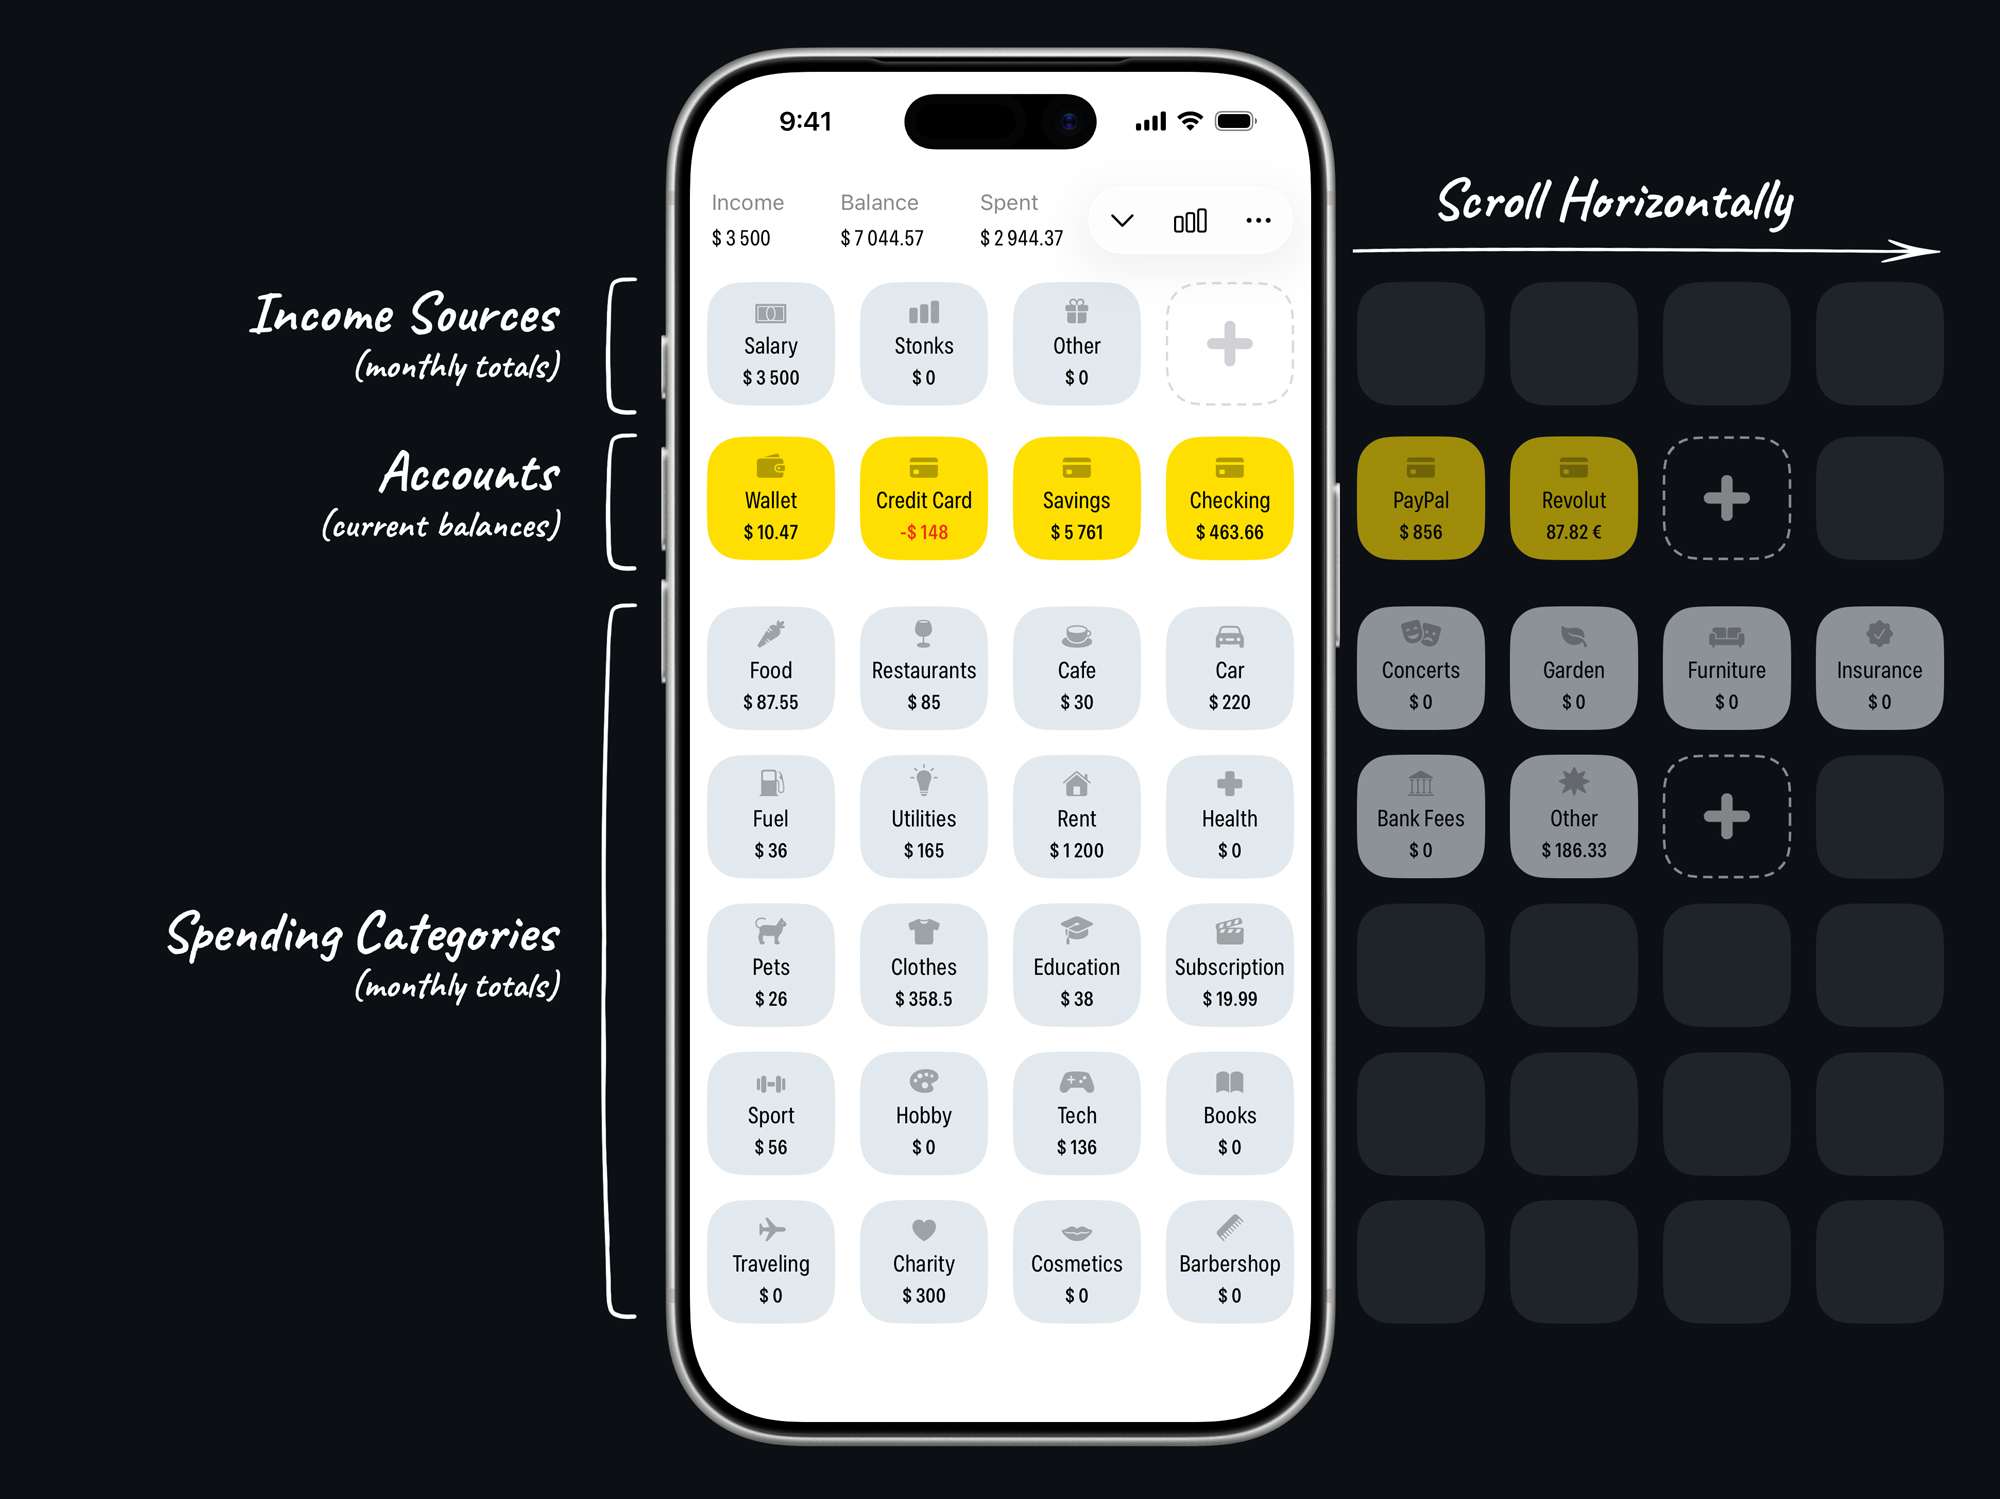
1. All categories (cards) are on one screen.
- Income Sources (e.g. Salary)
The first row. Reset to zero on the first day of each month. - Accounts (e.g. Wallet)
The second row. Do not reset. - Spending Categories (e.g. Food)
The remaining space. Reset to zero on the first day of each month.
All rows are horizontally scrollable, so you can add as many cards to each category as you want.
2. Transaction Recording with Drag and Drop.
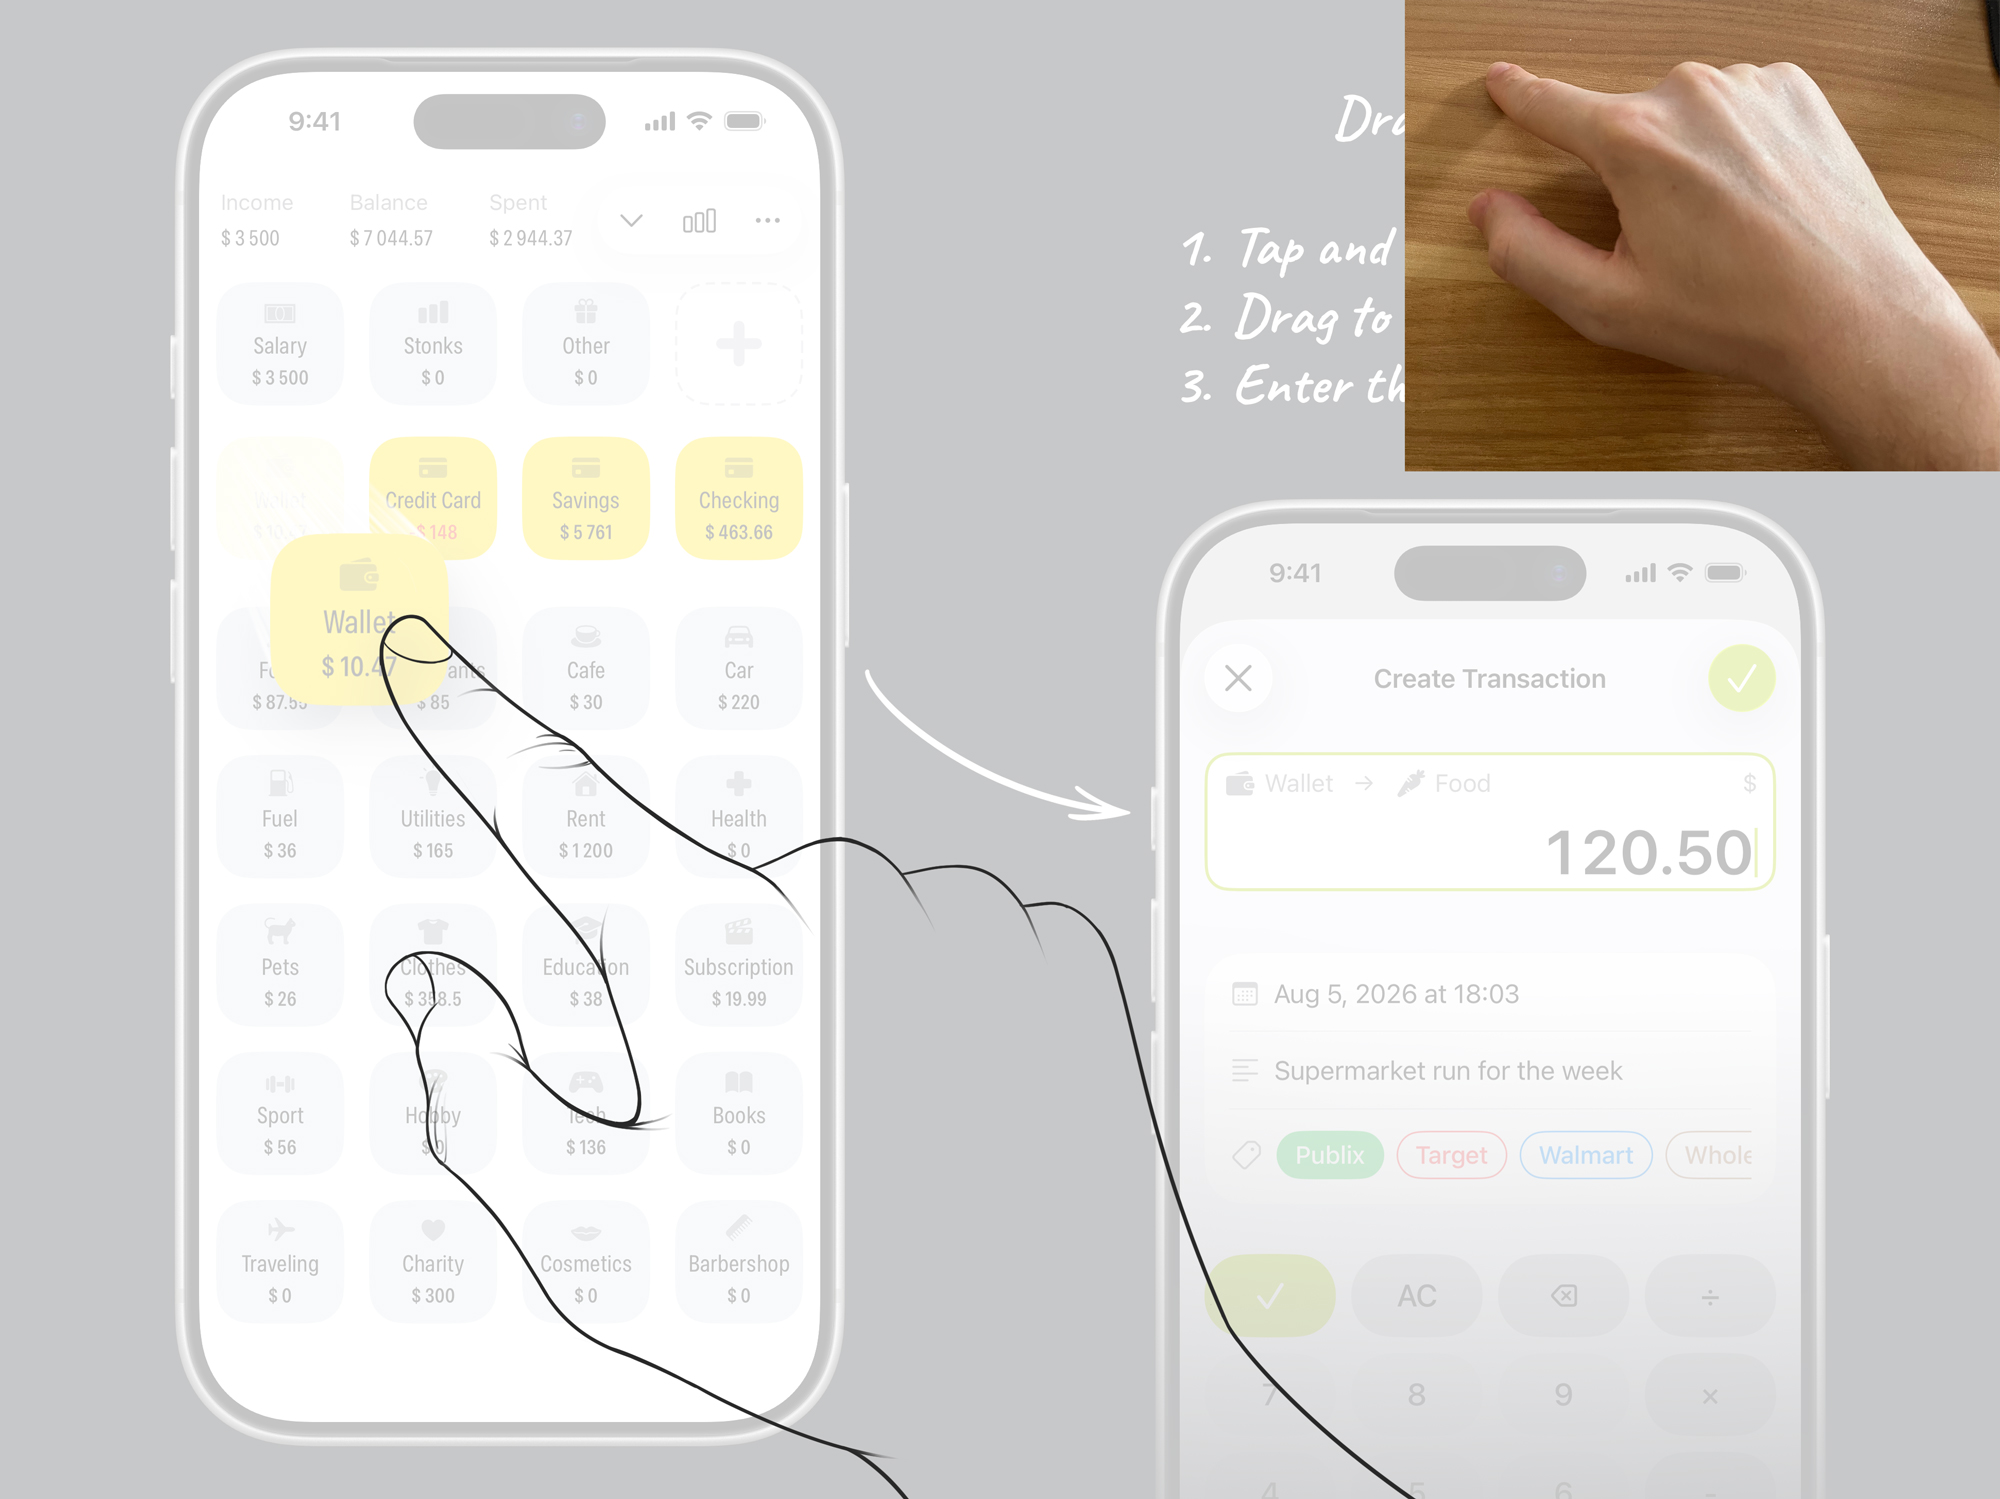
For recording transactions, simply drag and drop cards on the dashboard, just like moving icons on the iPhone Home Screen.
For example, to record a food expense paid from a wallet, drag the Wallet card onto the Food card, enter the amount, and tap the checkmark. As simple as that.
Other Features
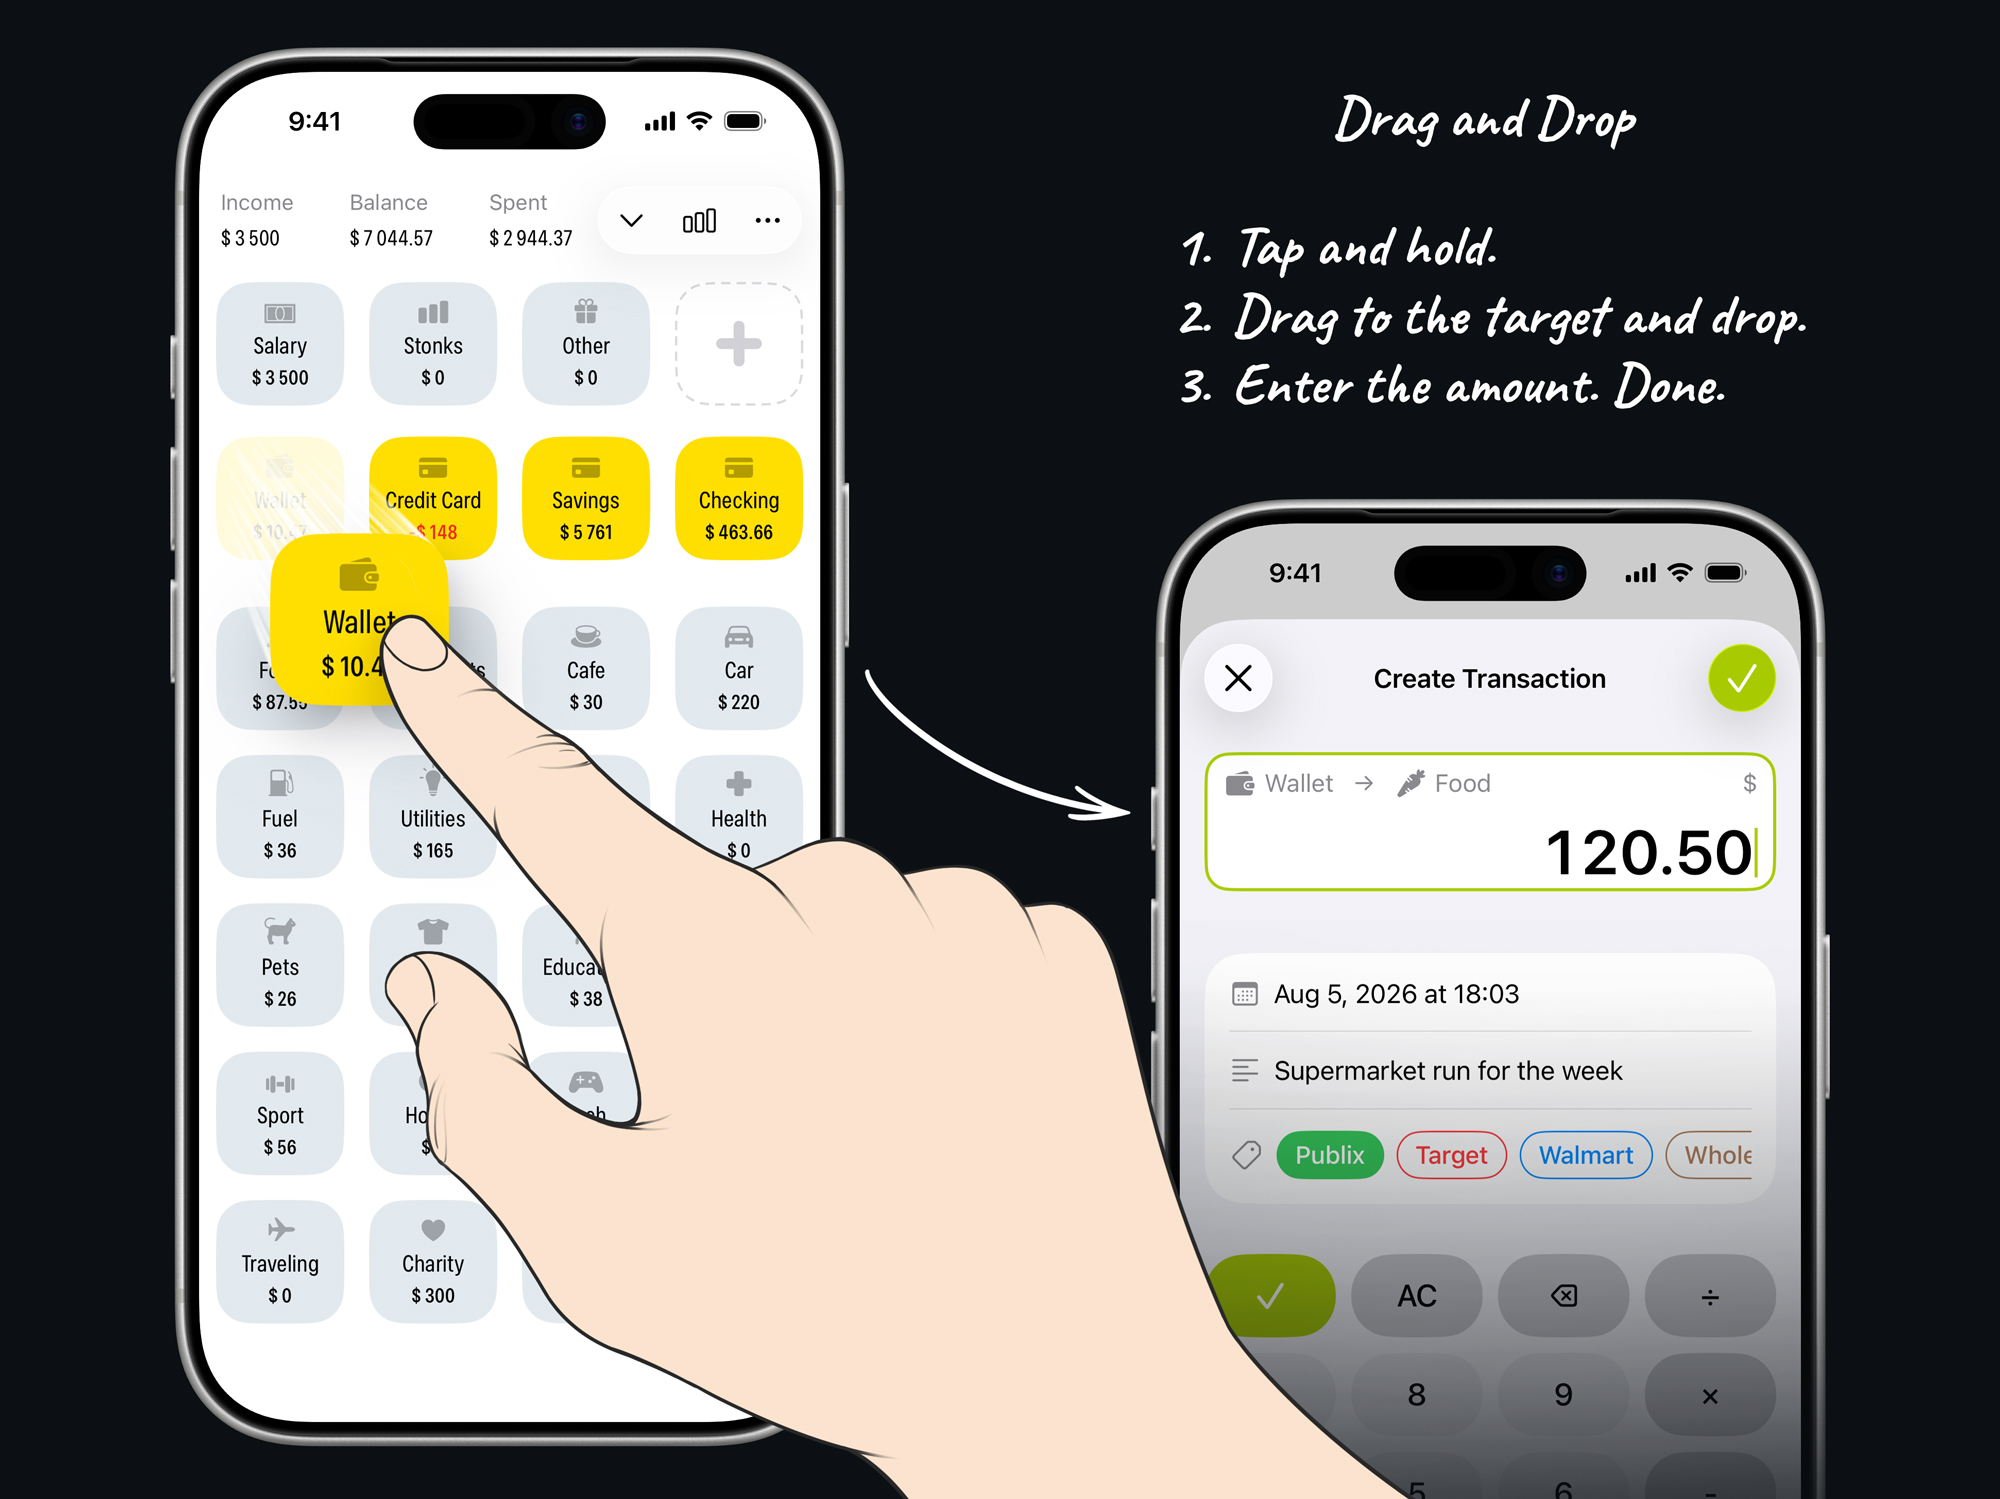
- Edit any card or transaction.
- Reorder cards however you want.
- Choose an icon for each card from a catalog.
- View transactions grouped by day inside each card.
- Add descriptions and tags to transactions. The date and time are recorded automatically but can be edited manually.
- Support for 43 currencies, with automatic conversion and manual adjustment.
- Exclude a card from the total balance calculation.
- Hide cents if you're rich and they don't matter to you :)
- Hide the Income row to make room for an additional row of Spending Category cards.
- Choose between Dark, Light, and System themes.
- Statistics with line charts for income and expenses by day, week, month, quarter, or year.
- Delete or archive cards. Deleting also removes related transactions. Archiving preserves transactions and allows you to restore the card later.
- Export all your data as a CSV file.
- Completely delete your account and all your data from the server.
Subscription
The app is free, and you can create up to 5 cards in each category (Income Sources, Accounts, and Spending Categories). If you need more cards, a subscription removes this limitation.
There are two options:
- Monthly Plan – $1.99
- Annual Plan – $11.99 (50% OFF)
Family Sharing is included, so you can share it with your family without paying for multiple subscriptions.
The goal of the subscription is simply to cover the cost of the AWS infrastructure or, at least, help keep it low.
Development
Disclaimer
Yes, I used AI. BUT I didn't "vibe-code" the app, and I can explain every single line of code in the project.
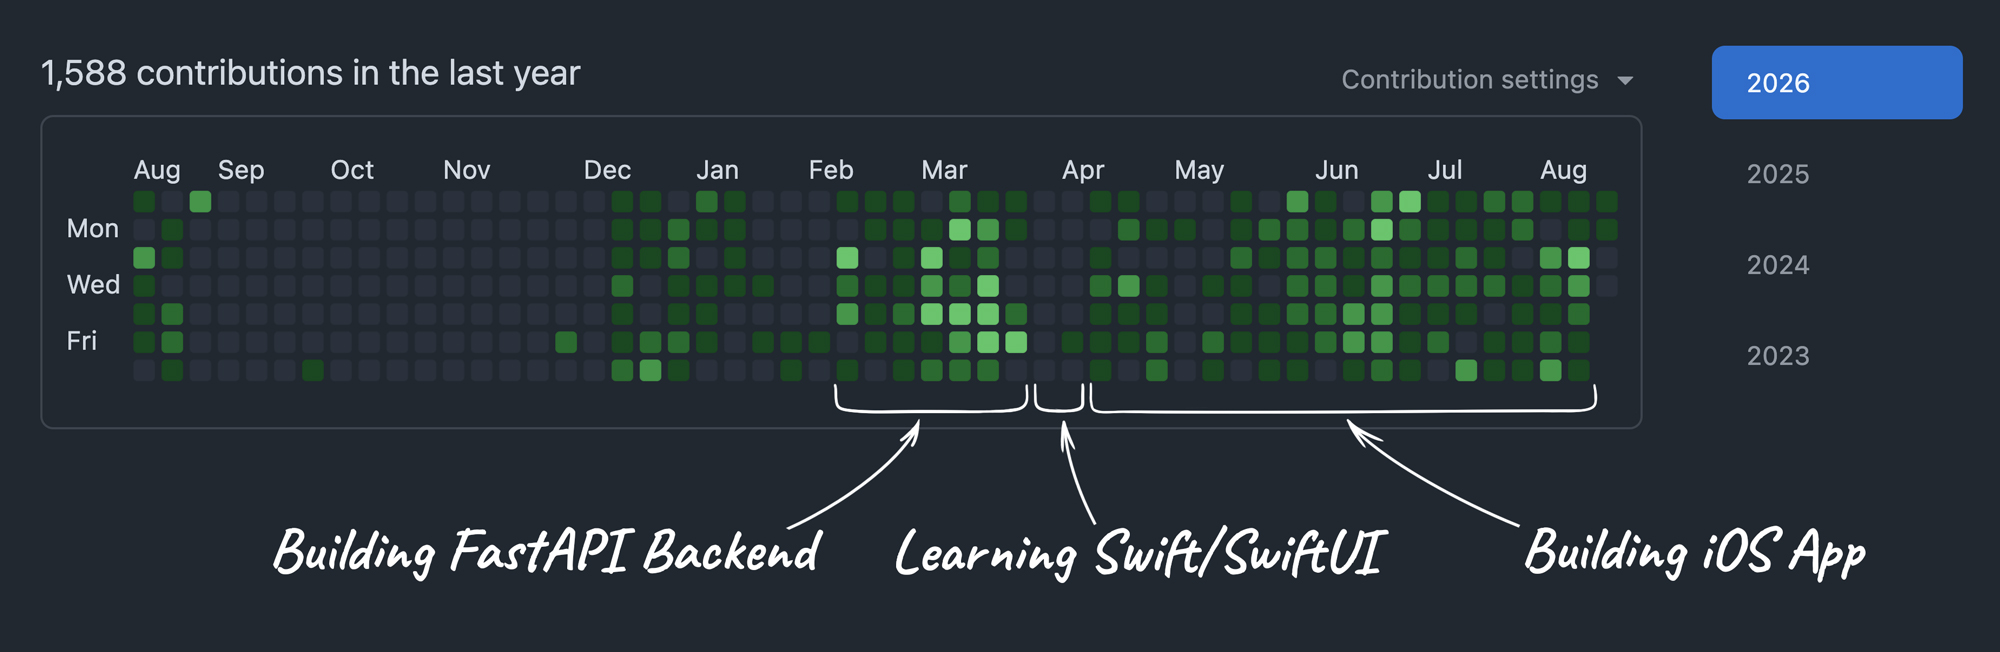
I'm primarily a backend developer, and Reshta is my first iOS app. Before this project, I hadn't written a single line of Swift. So, I learned Swift and iOS development by building Reshta, using Paul Hudson's lessons and AI as an additional explainer and reviewer.
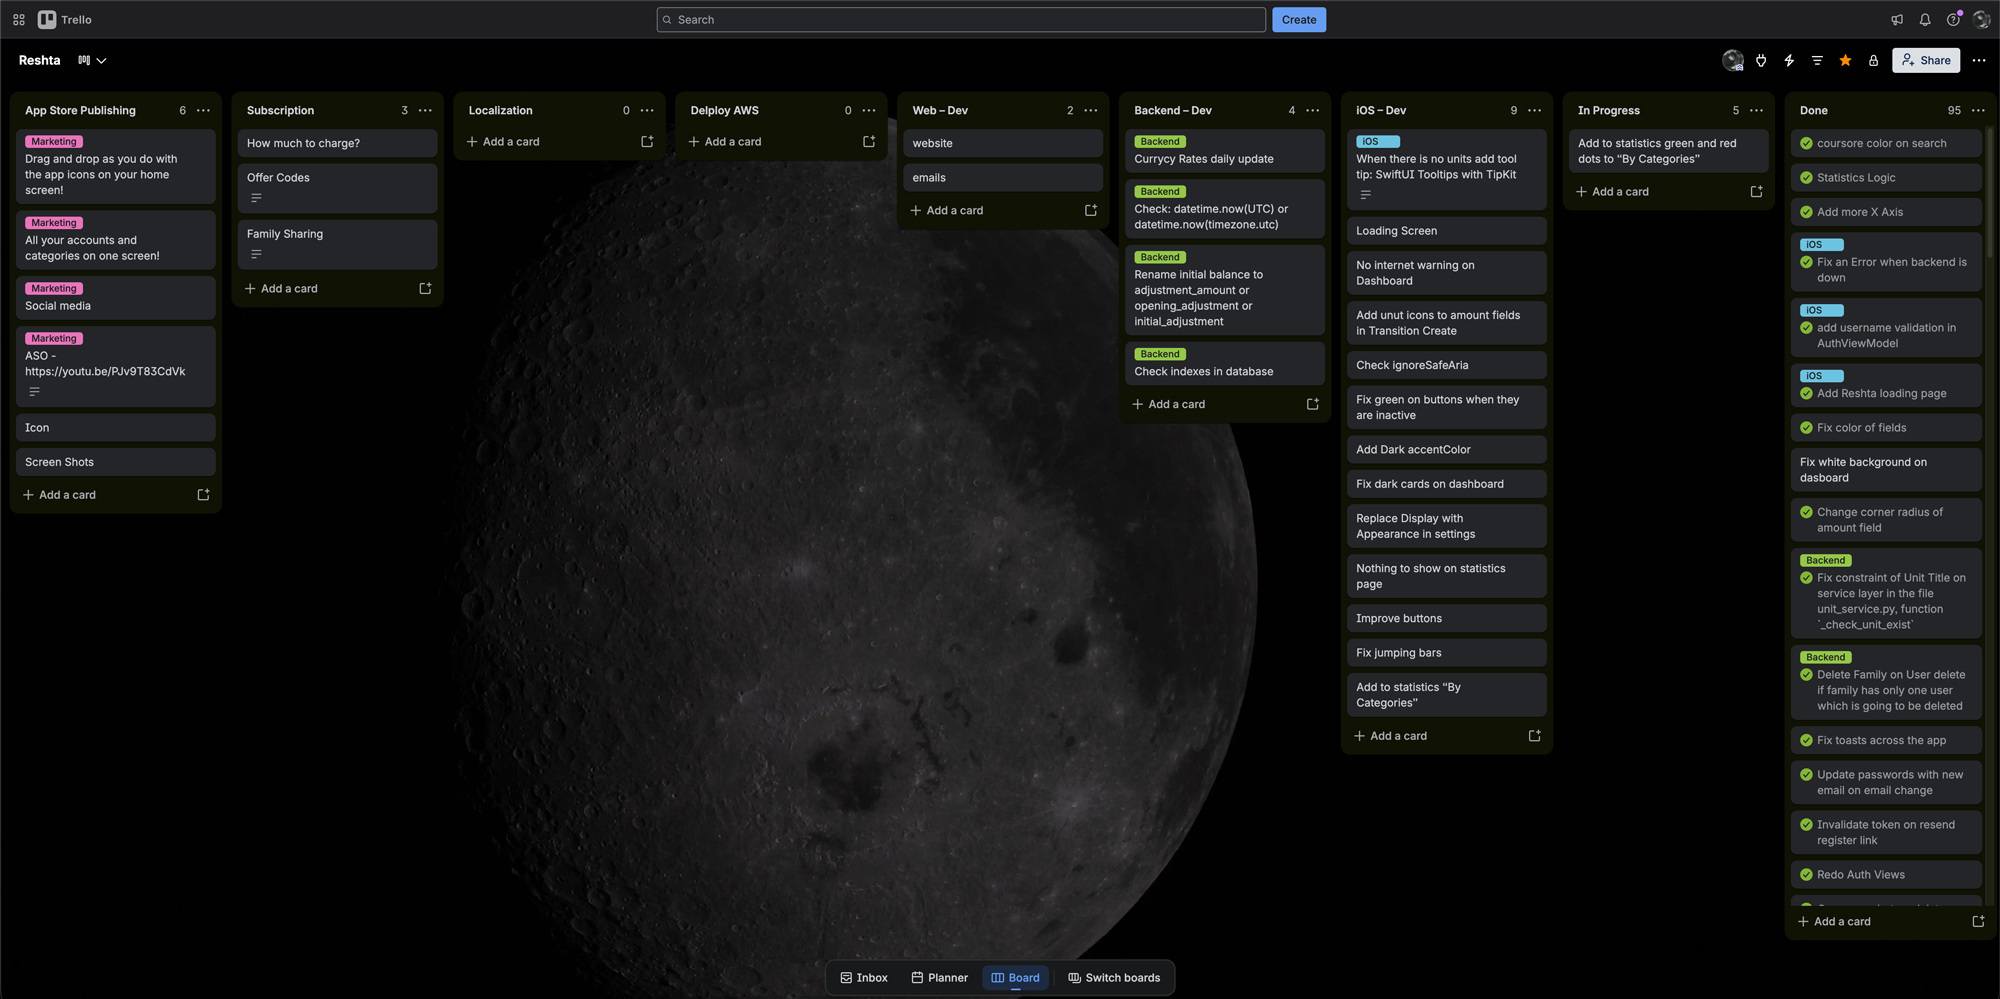
Project Management
I used a simple Kanban board. Nothing fancy, it just works for me.
Backend
I built the backend with FastAPI.
When I started the project, I was working at a company where FastAPI was the primary framework, so I chose it simply because I didn't want to constantly switch between frameworks.
Some Details:
-
Layered architecture. Three feature modules (
user,family,reshta), each with five layers:api– routes only.service– stateless business logic.dao– queries and eager loading.model– ORM models.dto– Pydantic input/output schemas.
-
Async from end to end.
- FastAPI + SQLAlchemy 2.0 async ORM with
asyncpg redis.asyncioaiohttp
- FastAPI + SQLAlchemy 2.0 async ORM with
-
PostgreSQLas the primary data store. -
Redisfor user sessions, tokens, and caching. -
Granianas the ASGI server. -
msgspecfor JSON serialization. -
Rate limiting with
slowapi. -
Materialized and repairable balances.
- Account balances are updated whenever a transaction is created, edited, or deleted.
- A dedicated endpoint can rebuild them from the transaction history.
-
Self-scheduling currency updates. A background
asyncio taskrefreshes 43 exchange rates from an external API every 2 hours. -
Mailgun APIis used for verification and password-reset emails, sent viaaiohttpasFastAPI's BackgroundTasks.
AWS
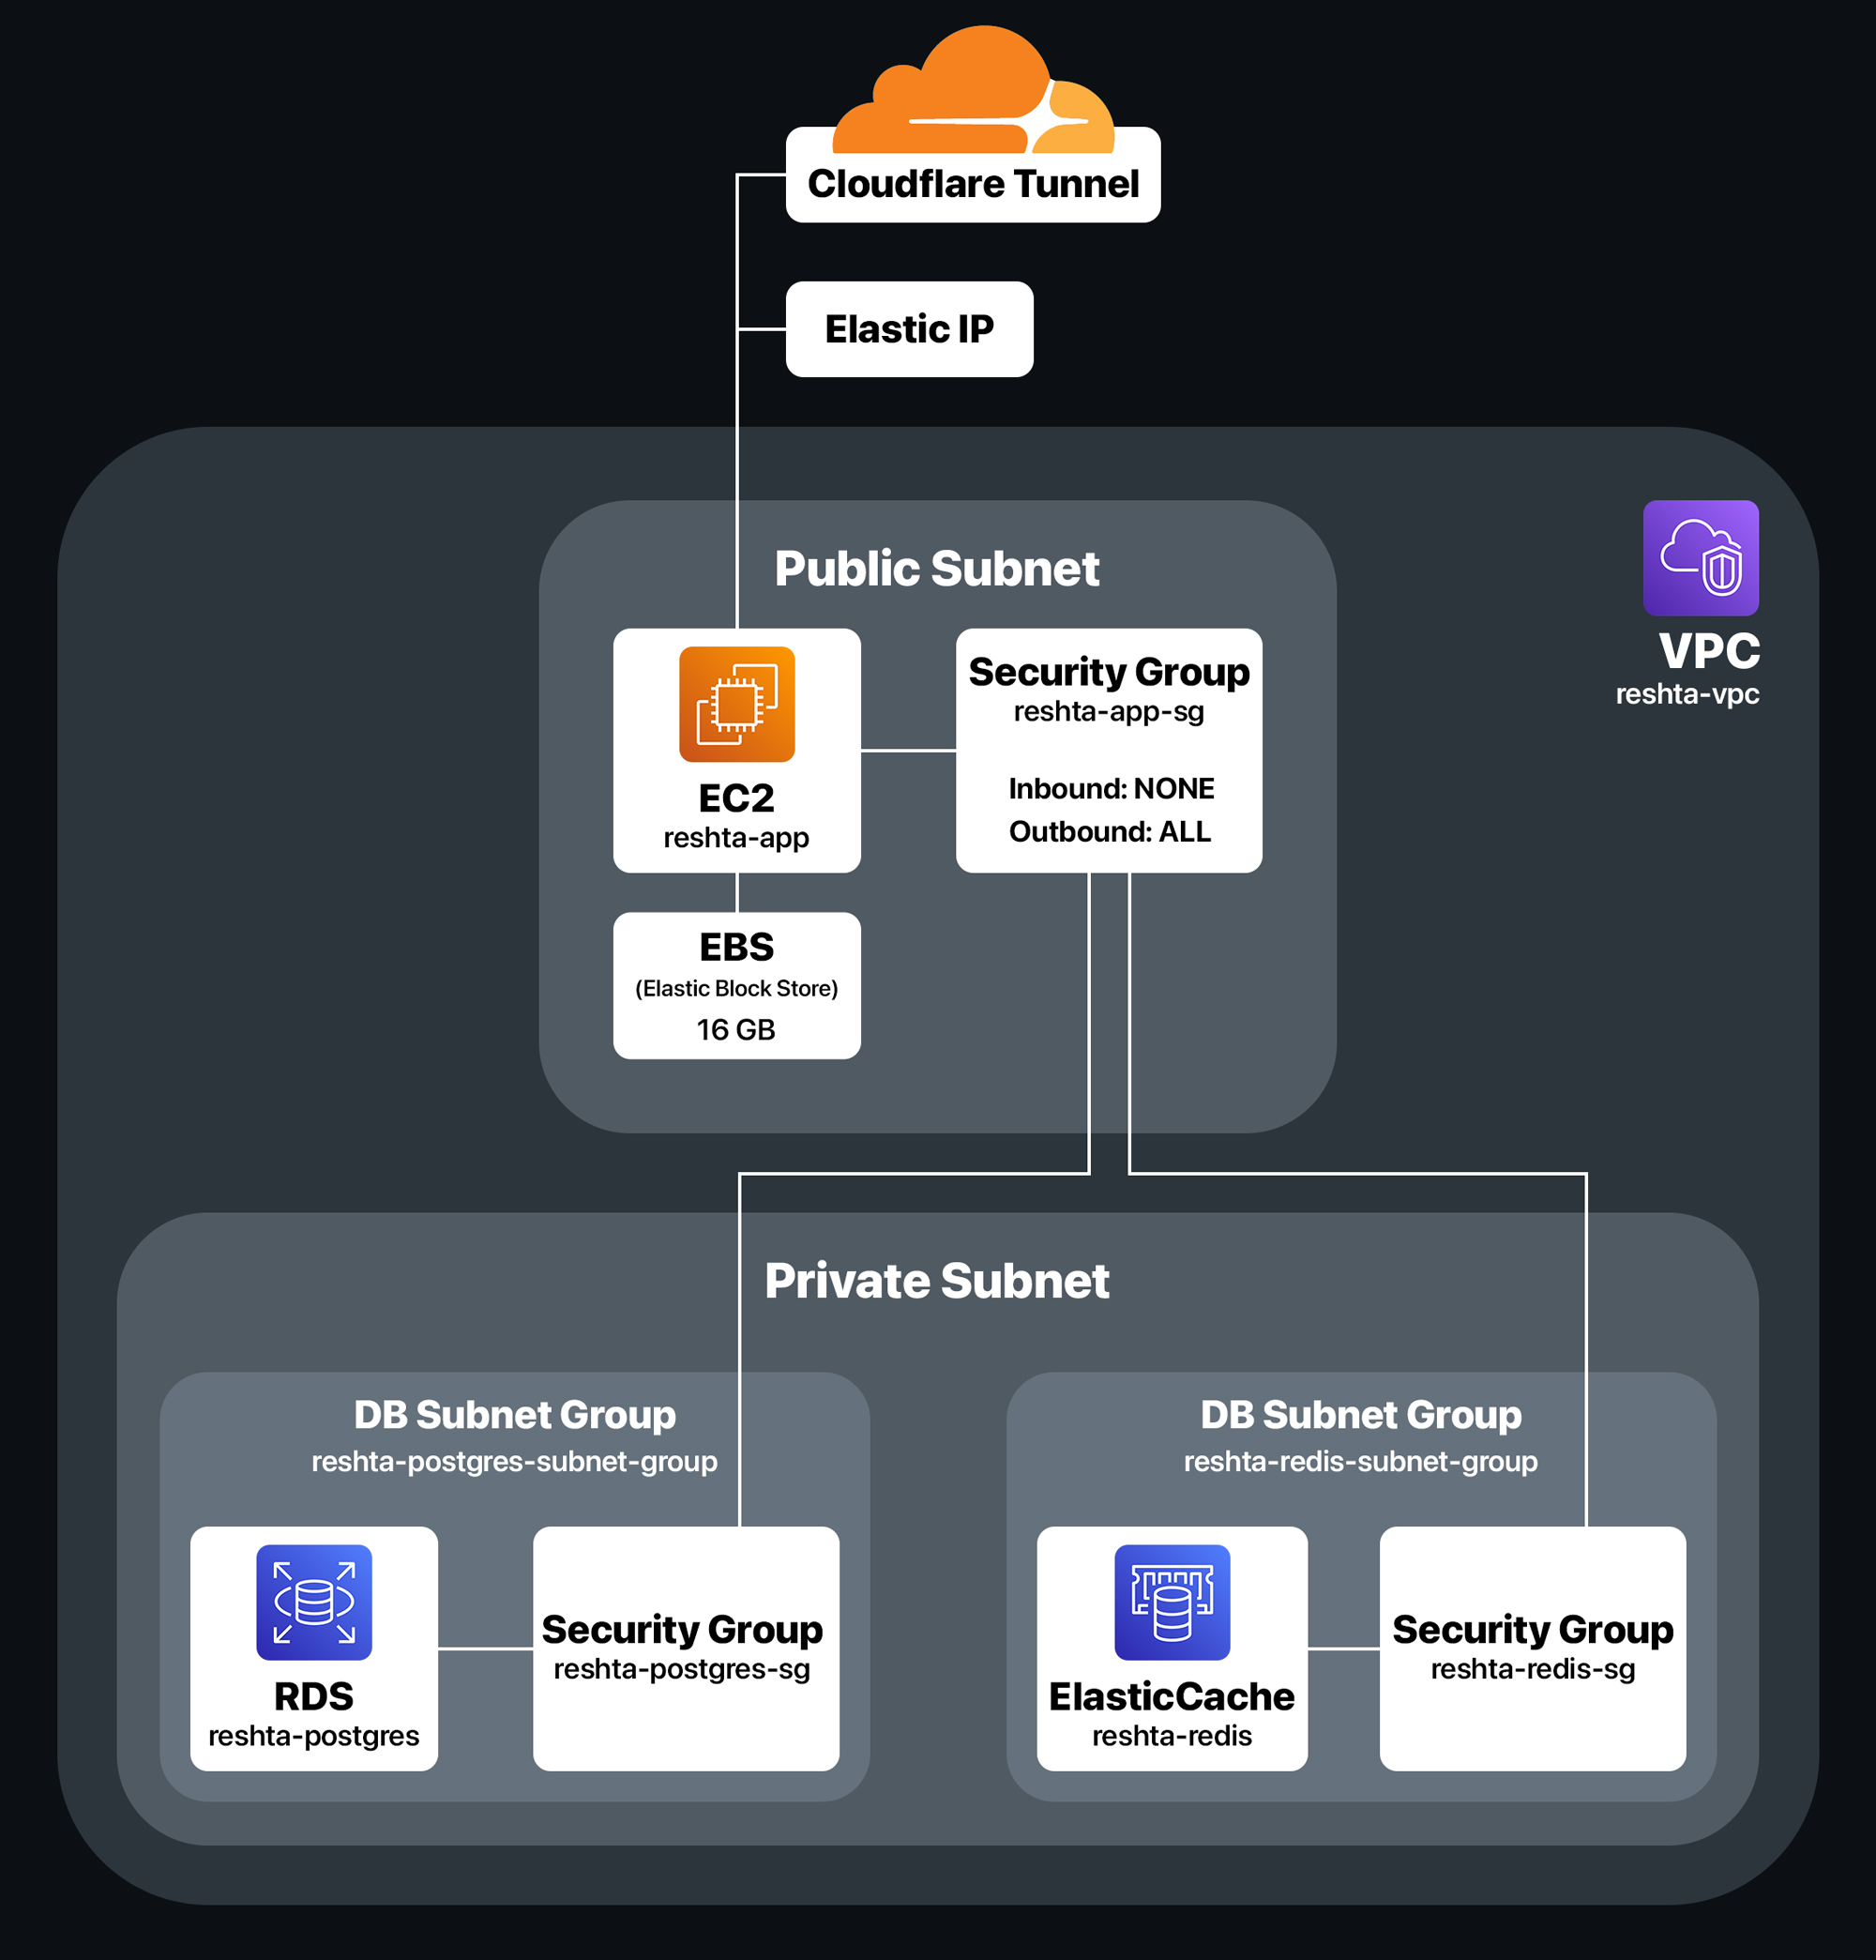
The EC2 instance sits in a public subnet, but there are no inbound rules. All inbound traffic goes through a Cloudflare Tunnel, which makes my life much easier, especially when it comes to TLS certificates. RDS (PostgreSQL) and ElastiCache (Valkey, Redis-compatible but cheaper) stay in a private subnet, where they are accessible only from the EC2 instance's security group.
| Service | Cost per day (USD) |
|---|---|
| ElastiCache | 0.326 |
| EC2 (Other) | 0.045 |
| Relational Database Service | 0.495 |
| Virtual Private Cloud | 0.120 |
| Total | 0.986 |
Automated Deployment on Push to main
Job 1 – build
- Checkout the repository (
actions/checkout@v5). - Log in to GHCR using the automatic
GITHUB_TOKEN. - Build the image from the
Dockerfilewith two tags::<GITHUB_SHA>(the tag that is deployed, and makes rollback possible) and:latest(the fallback). - Push both tags to GHCR.
Job 2 – deploy
- Get AWS credentials using OpenID Connect (OIDC). No long-lived keys.
- Send the script execution command with SSM:
bash /opt/reshta/deploy.sh $GITHUB_SHA. - Wait for completion in a loop (maximum 6 attempts). Each
waithas a time limit.breakon success. - Get the output: prints
StandardOutputContent, thenStandardErrorContent. - Check the
Status. If it is notSuccess, the job stops with exit code 1.
On the server – deploy.sh
- Enable strict mode
set -euo pipefail: exit on a failed command, an unset variable, or a failure inside a pipe. - Go to the
/opt/reshtadirectory. - Read the commit SHA from the first argument (the image tag to deploy).
- Set the permissions mask so all new files are mode 600 (owner only).
- Create a temporary file with a random name next to
.env, and remove it when the script exits. - Get the environment variables from SSM Parameter Store and write them to the temporary file.
- Append the image tag
GITHUB_SHA=<sha>to the temporary file. - Replace
.envwith the temporary file atomically. If step 15 fails, the previous known-good.envstays unchanged. - Pull the image.
- Start the container. Compose recreates
reshta_serverbecause the image changed. The container applies the Alembic migrations, then starts the server. - Clean up by removing unused images more than 7 days old.
iOS – Swift, SwiftUI, and a Pinch of UIKit
In this part, I don't want to dive into the technical details and would rather talk about the personal side of development.
As I mentioned before, Reshta is my first iOS project. Before starting it, I had zero experience with Swift, SwiftUI, or UIKit.
So I decided to trick myself. I started building the backend without even looking into how difficult iOS development might be. My strategy was: once I had invested enough time in the backend, I wouldn't have much choice but to learn iOS and finish the project. It was a bit naive, but it did work.
Of course, I had some frustration at the beginning. For example, at one point I didn't even know where the terminal was in Xcode (it doesn't have a termial, LOL). But I knew that this was just a normal part of climbing the learning curve. Keep calm and carry on.
After about two weeks of researching and poking around with Swift, I felt ready to start building.
I used the MVVM design pattern just because it seemed well-separated.
At first, I wanted to create all the UI elements myself, with custom colors and designs. But I quickly realized that I needed to compromise and use Apple's built-in components where they made sense. For example, using Apple's standard colors made adding Dark Mode almost effortless.
I learned how to use Universal Links and Apple App Site Association (AASA), which allowed me to implement automatic login after email confirmation during registration and email changes.
I'm still very excited about @Observable. The way changing a property automatically updates every View that uses it. Love it.
Overall, I'd say the development process was surprisingly smooth for my first iOS project, except for two parts:
- The first was the drag-and-drop logic. I had to dig a bit into UIKit, which was something I wanted to avoid.
- The second was the line chart on the Statistics page. Getting it to work smoothly with a full year of daily data was tricky.
But yeah, I did it. And it was fun. I'll probably build something for iOS again.
Design
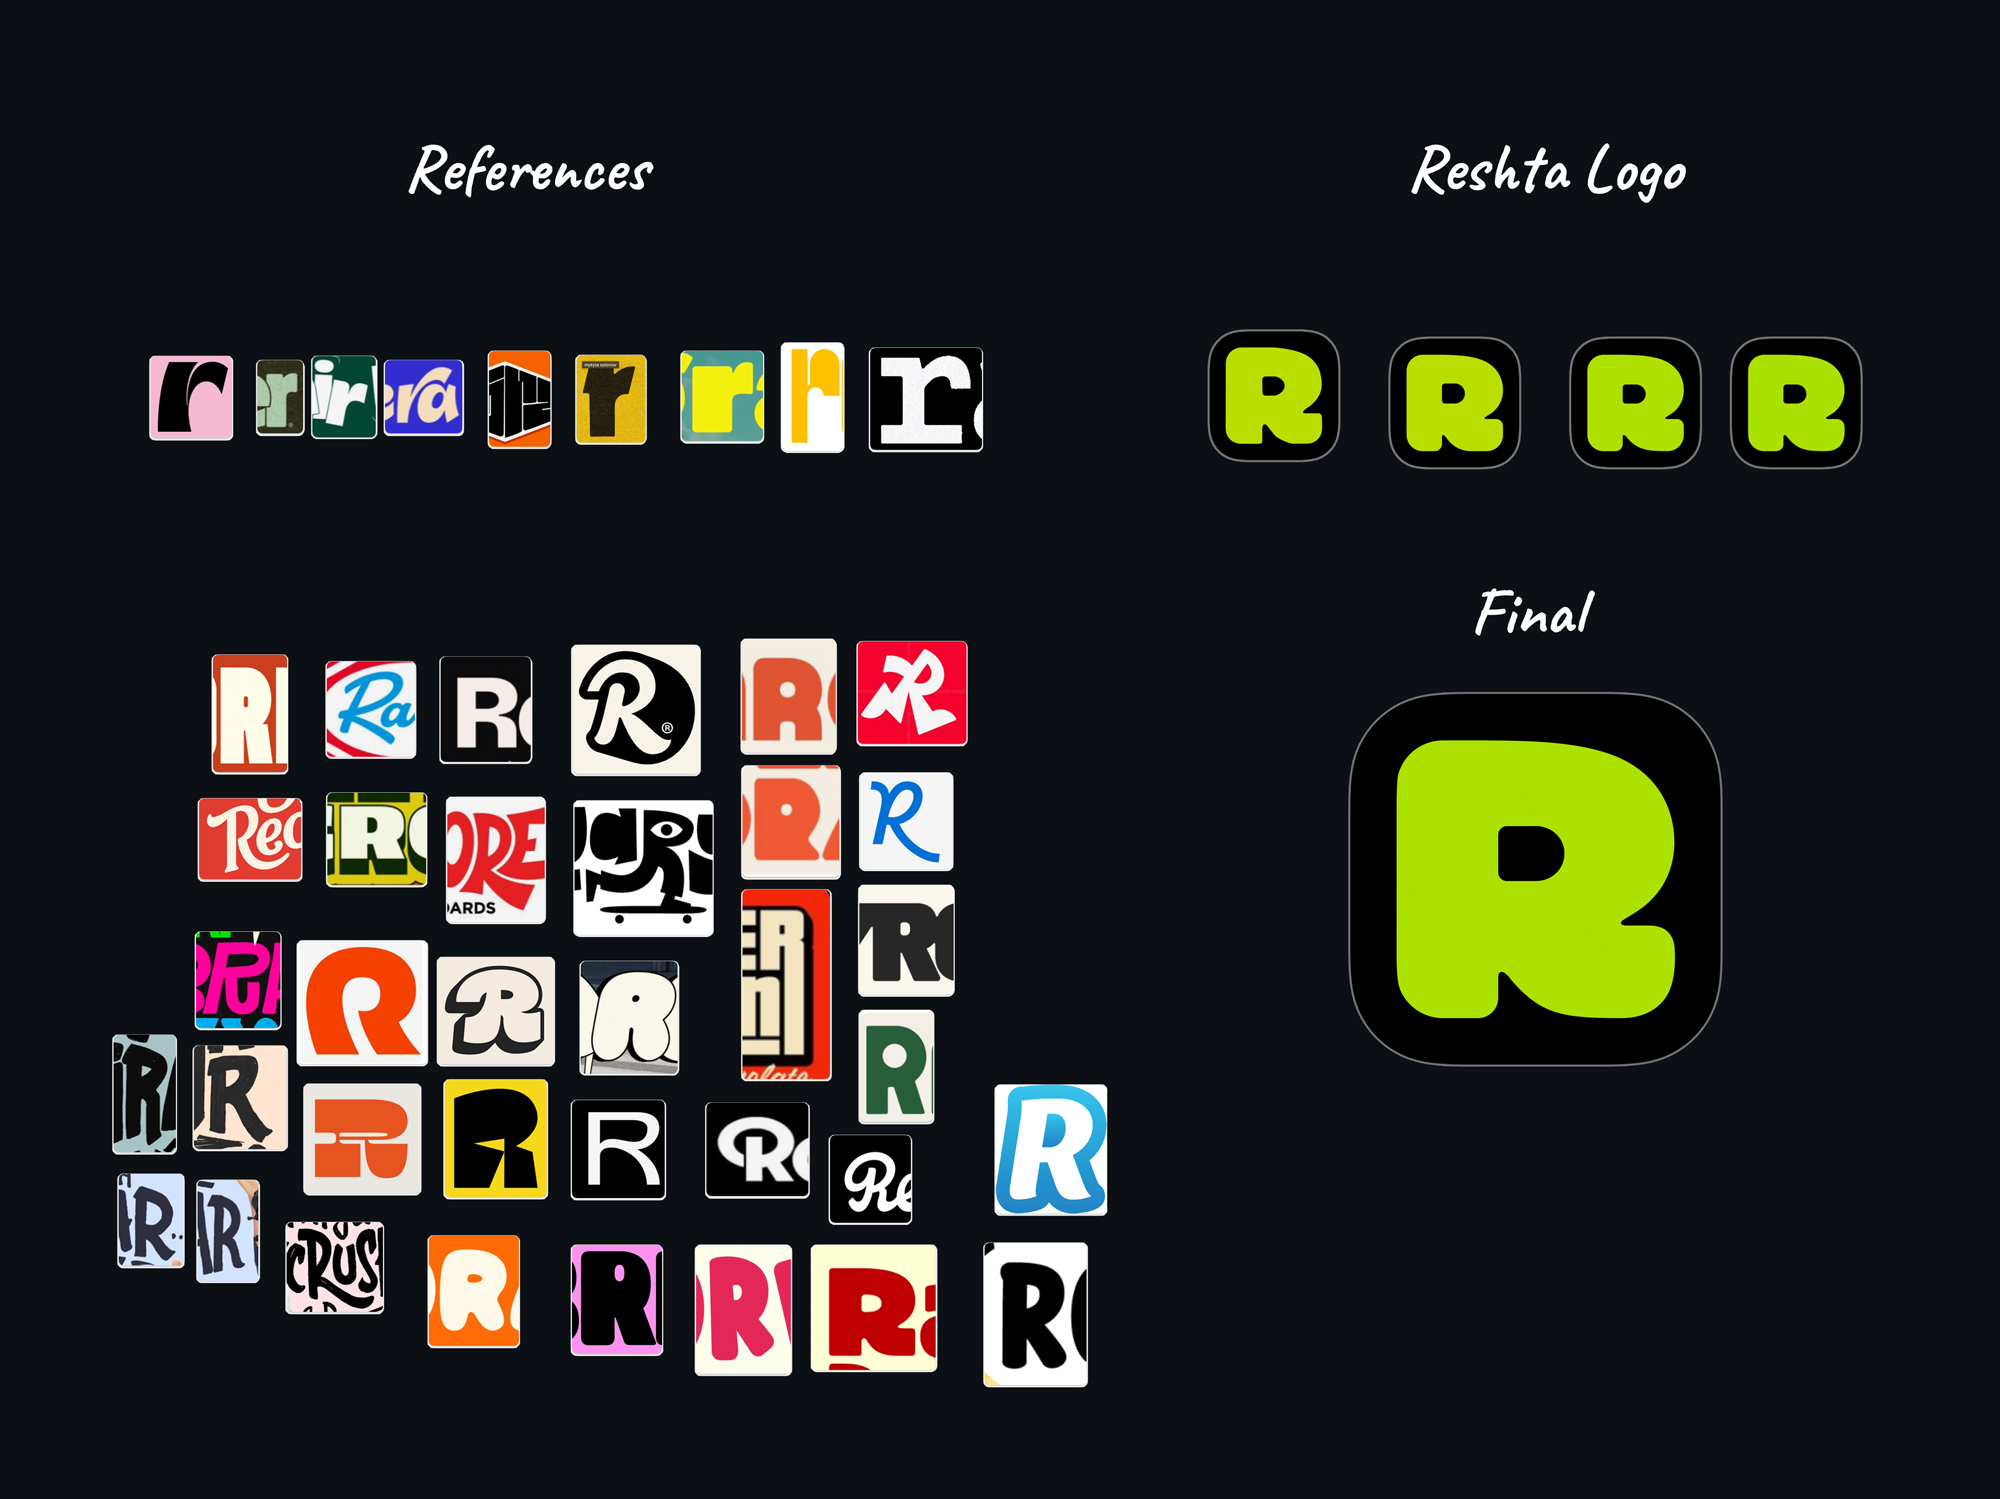
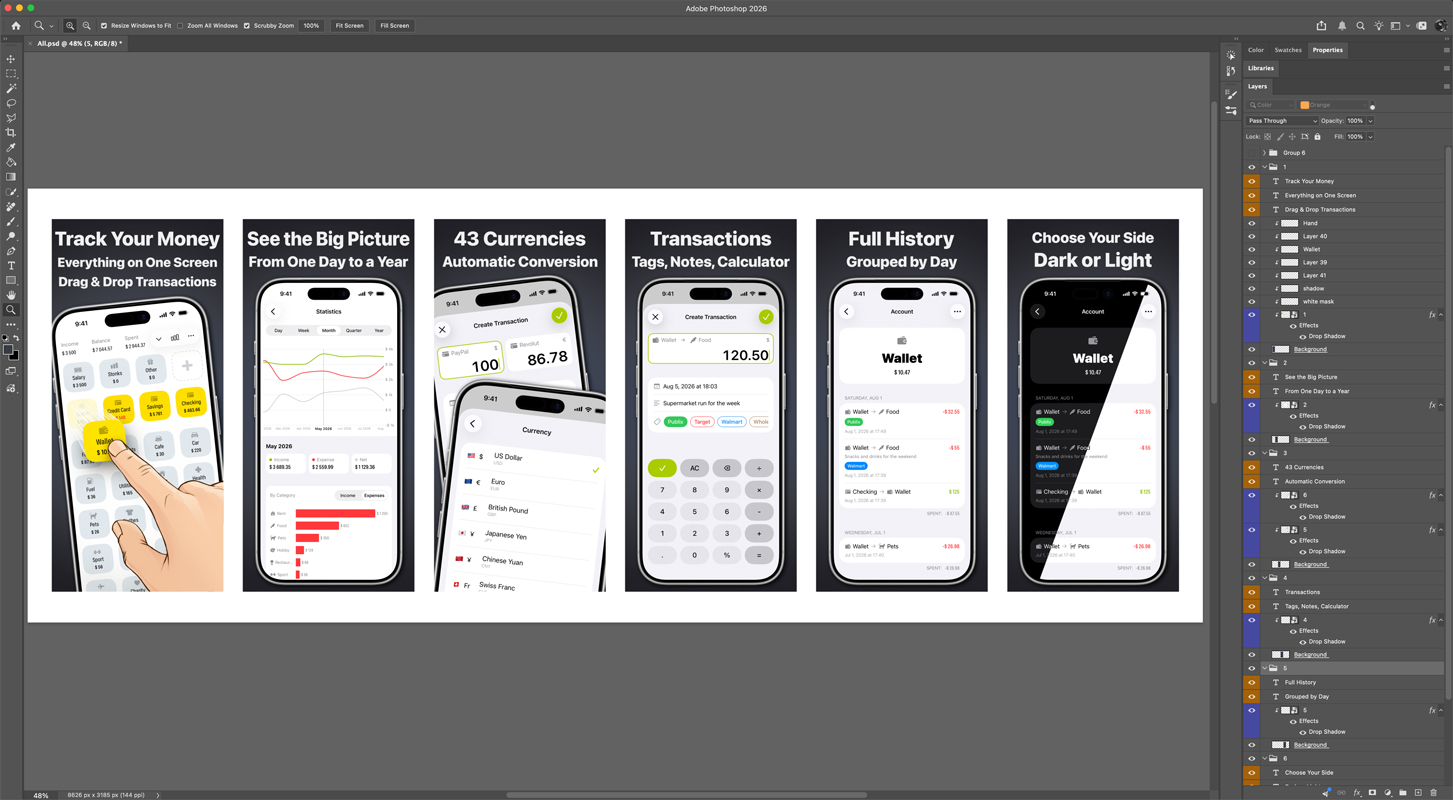
Despite having a degree in Graphic Design, designing the app and creating all the visual assets was the least fun part for me.
I didn't use AI for this part. I tried, but it didn't work out well, so I decided I could do a better job myself.

I think that's it
This project taught me many things, but most importantly, it showed me that anything can be done if you dive into it without overthinking how difficult it's going to be.
It was a lot of fun, and I'll keep learning Swift/SwiftUI and extending Reshta's functionality.